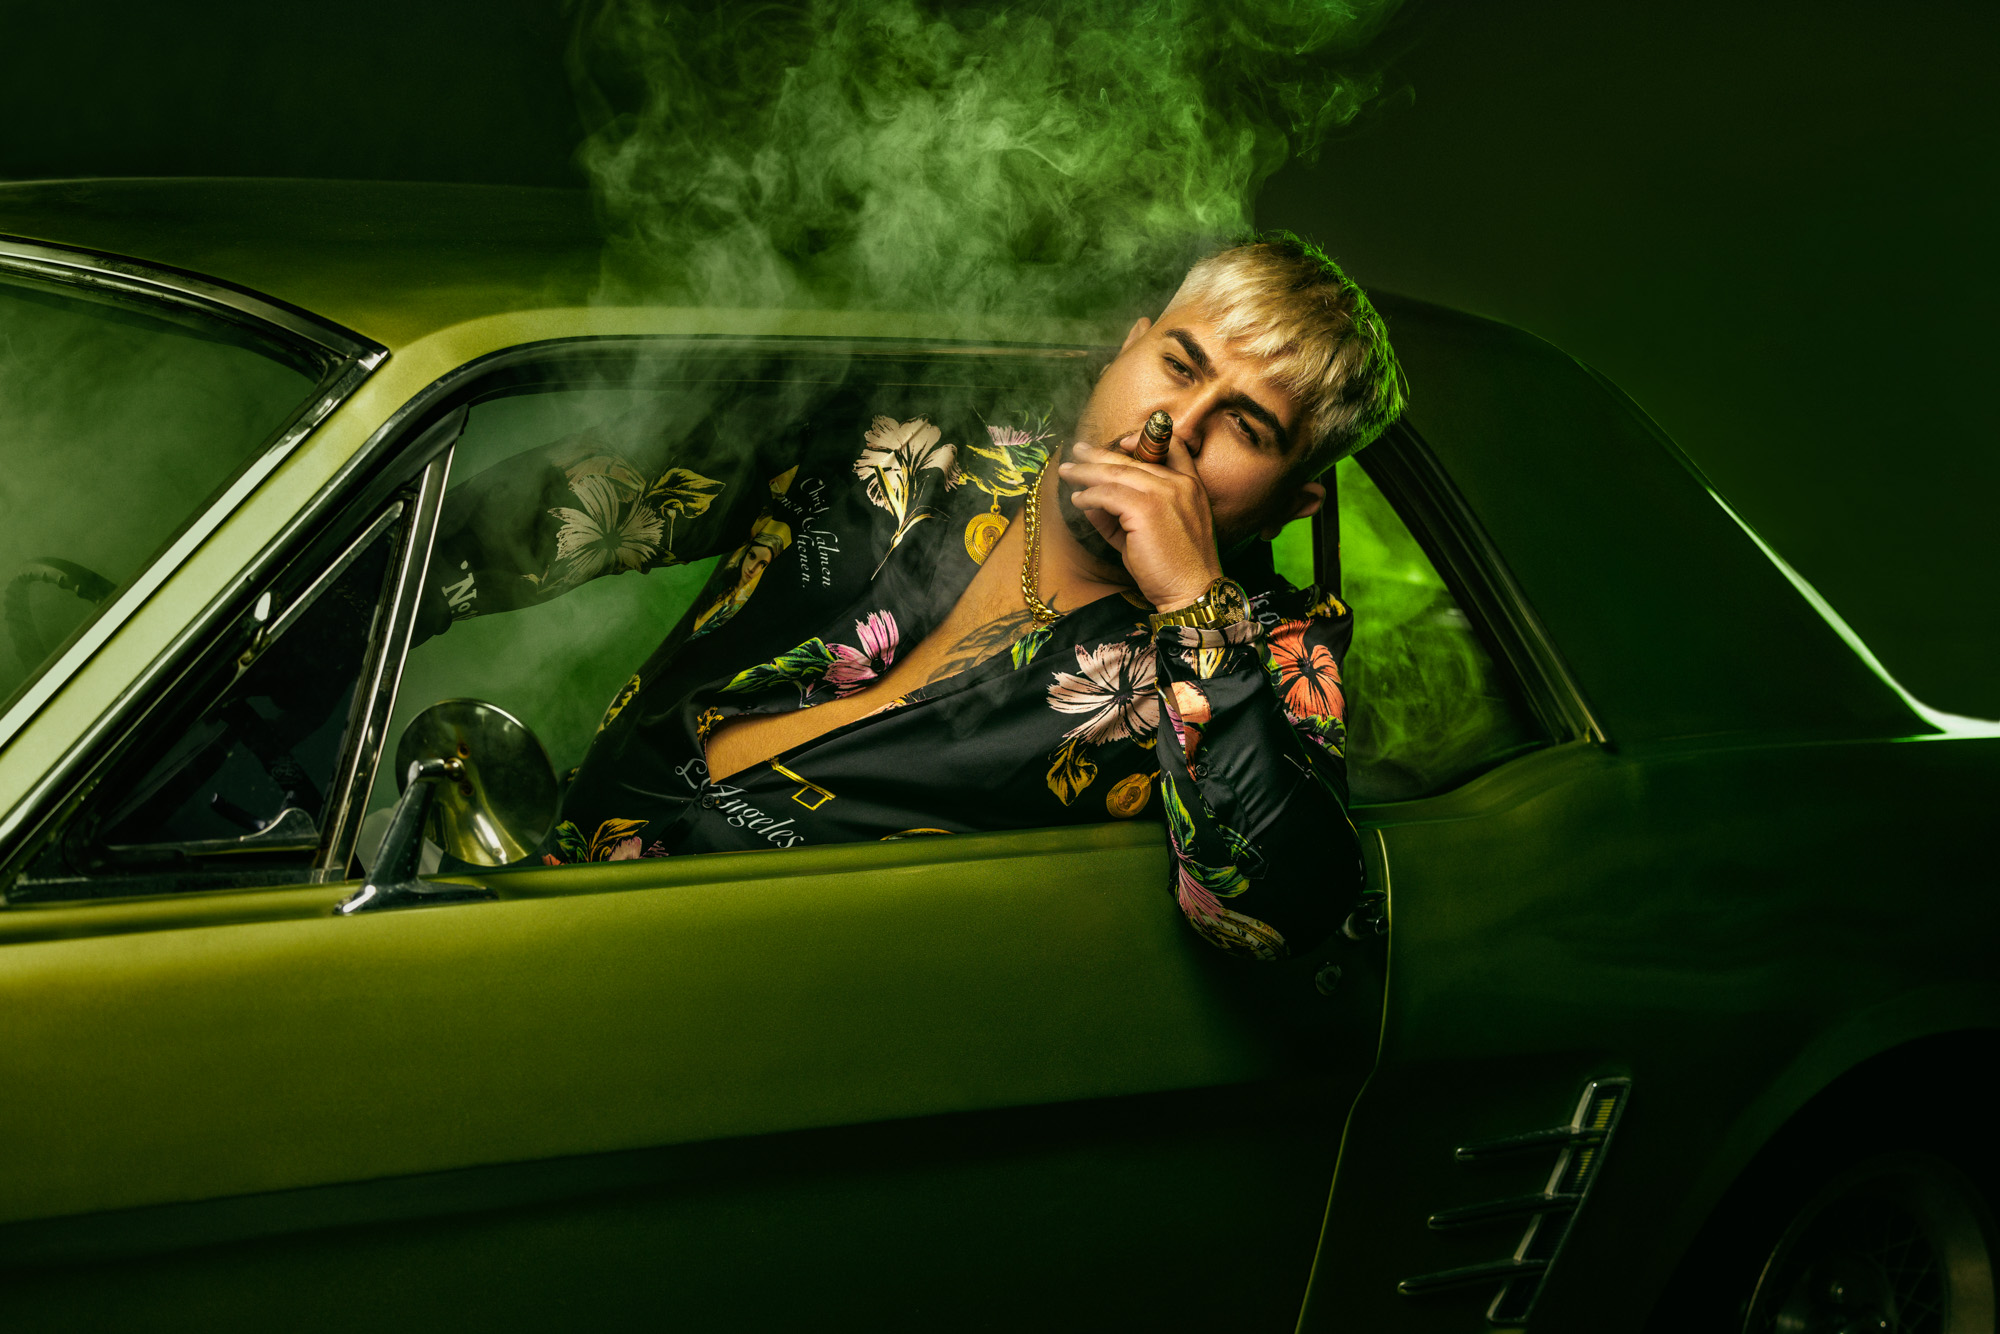
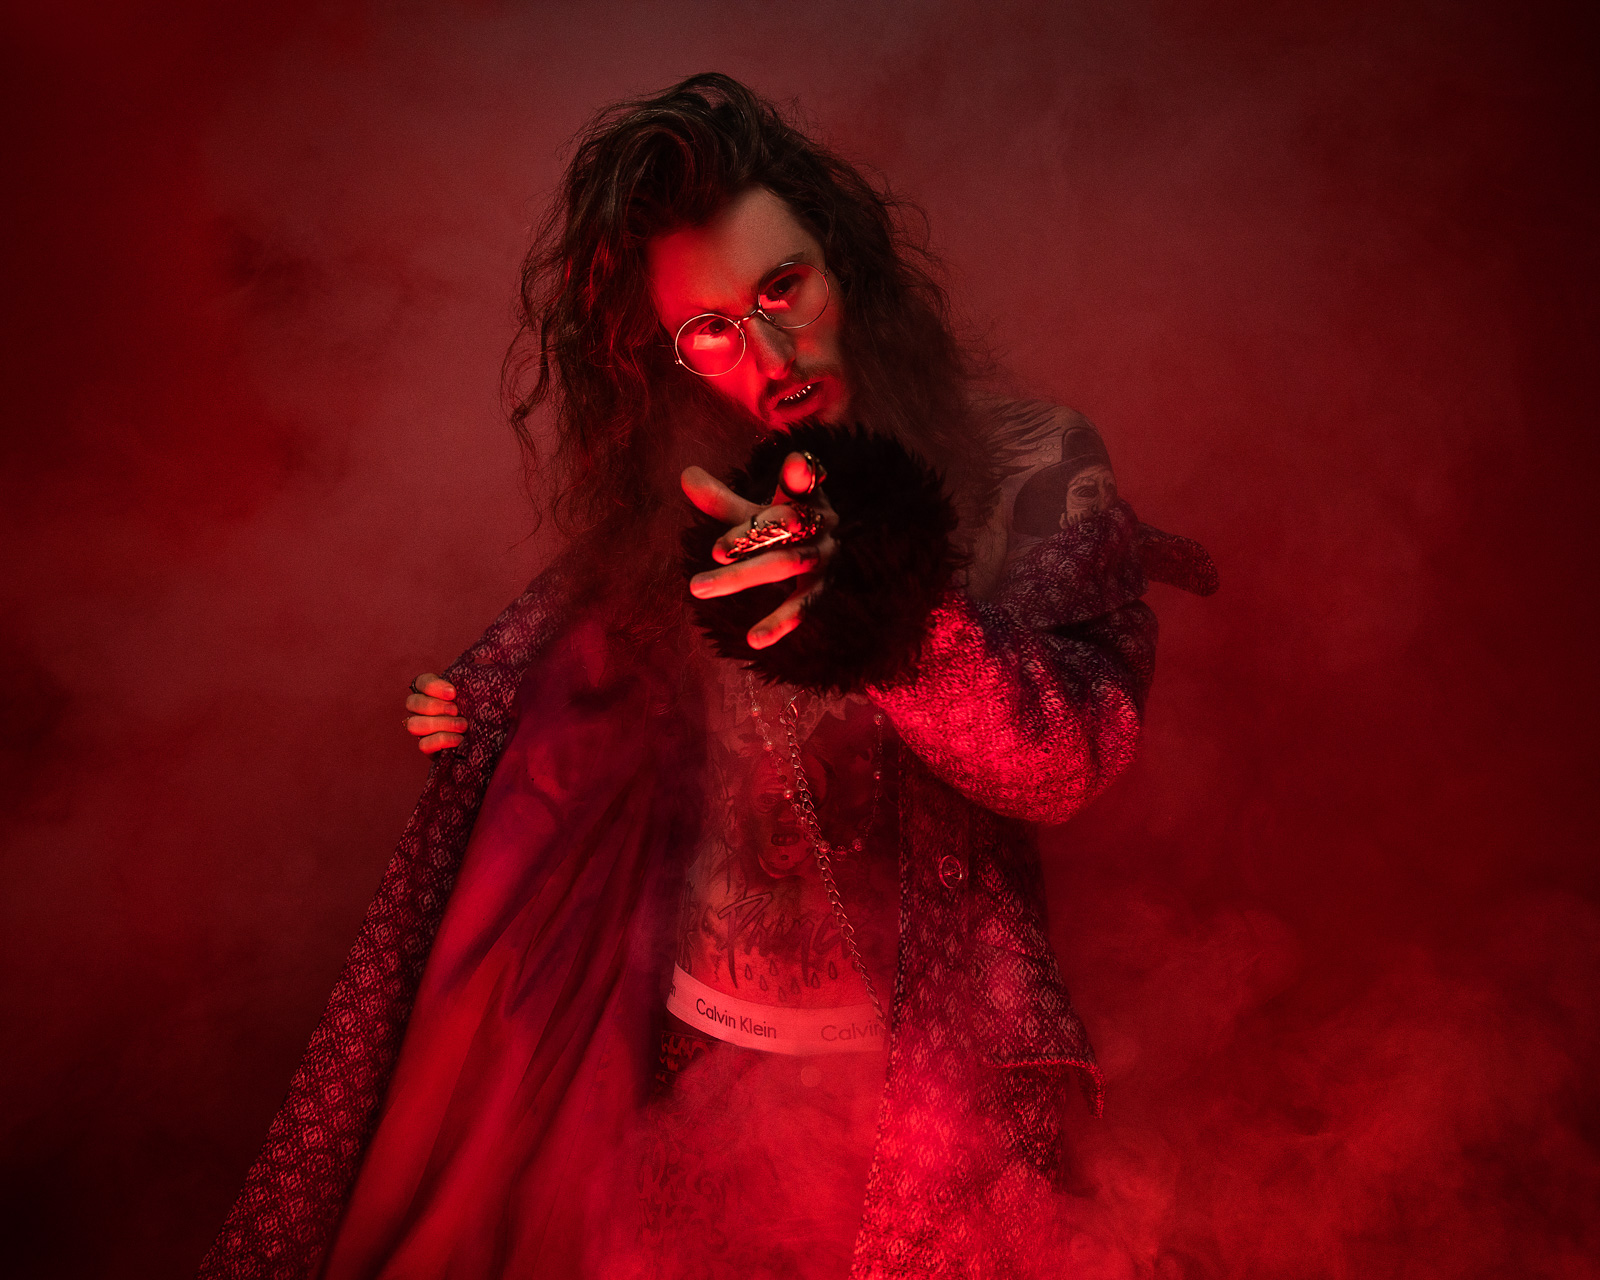
PORTRAIT
AUTOMOTIVE
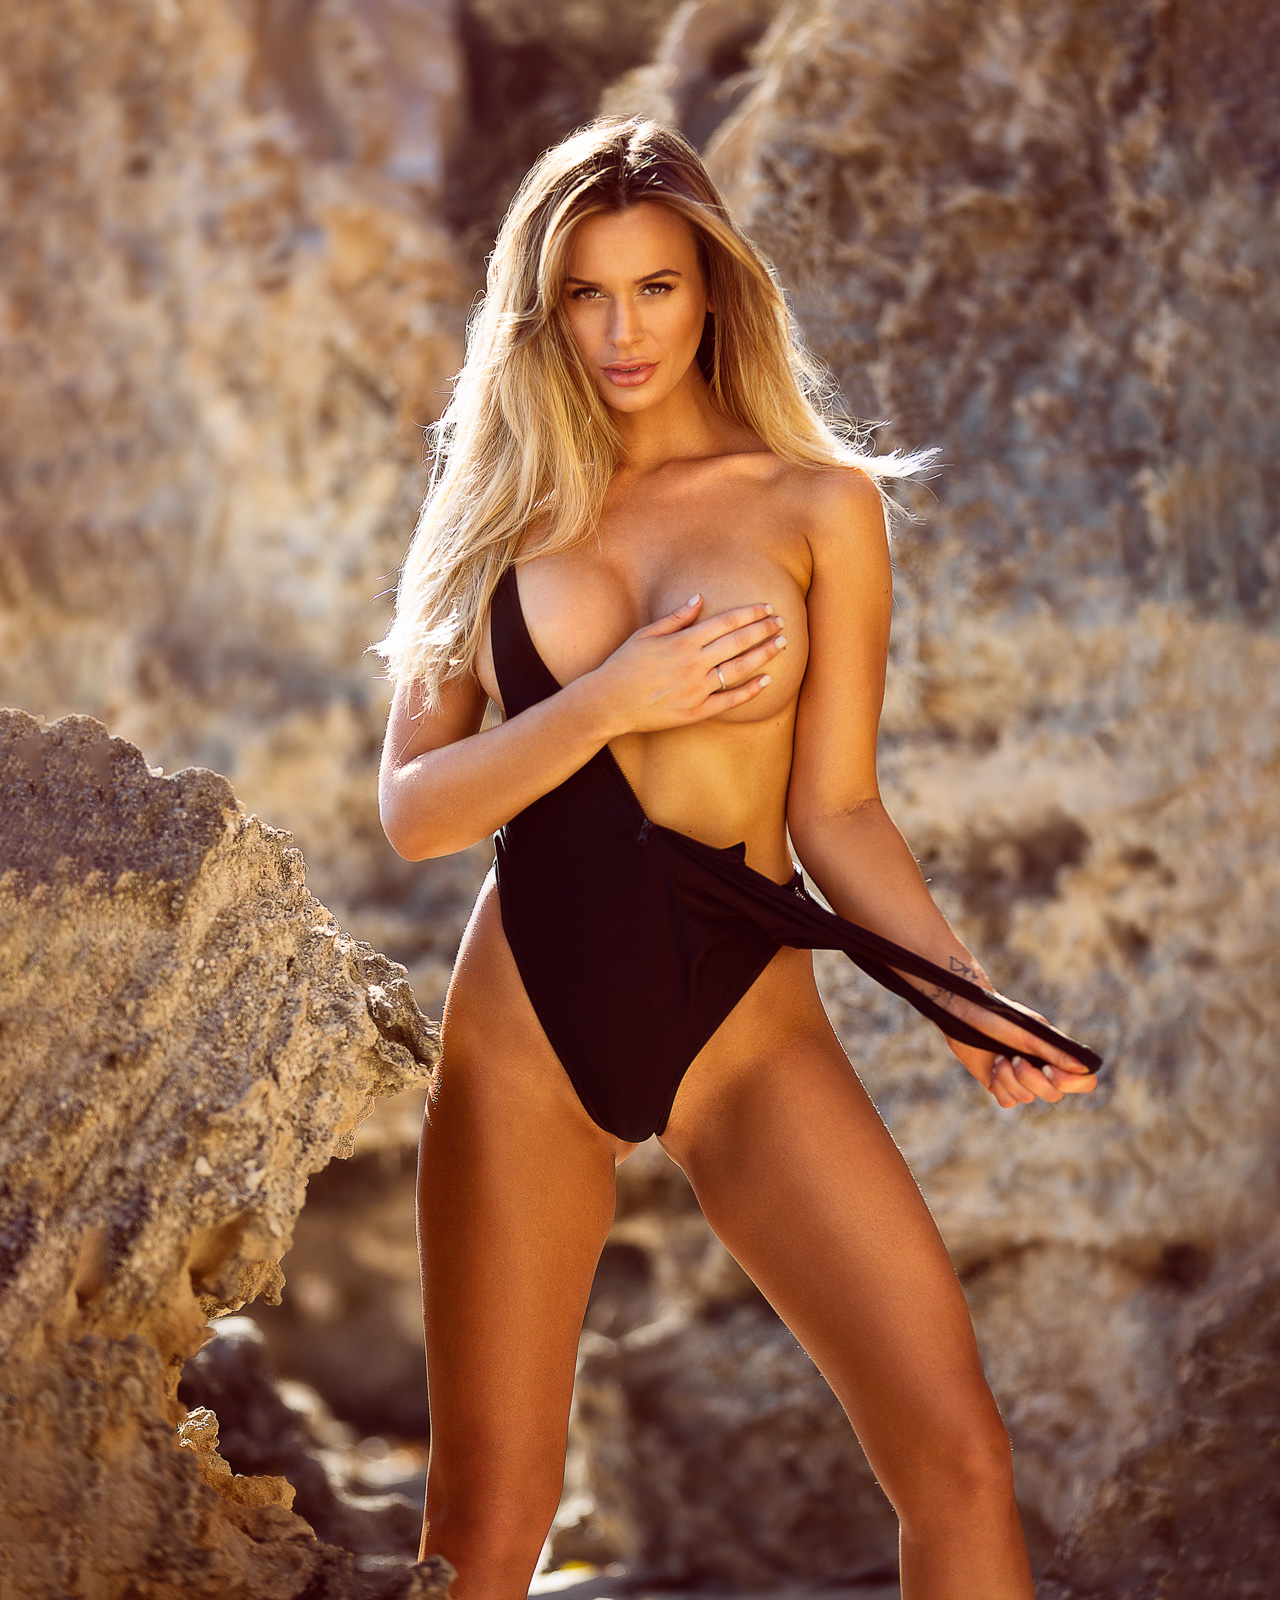
SWIMWEAR
COMMERCIAL
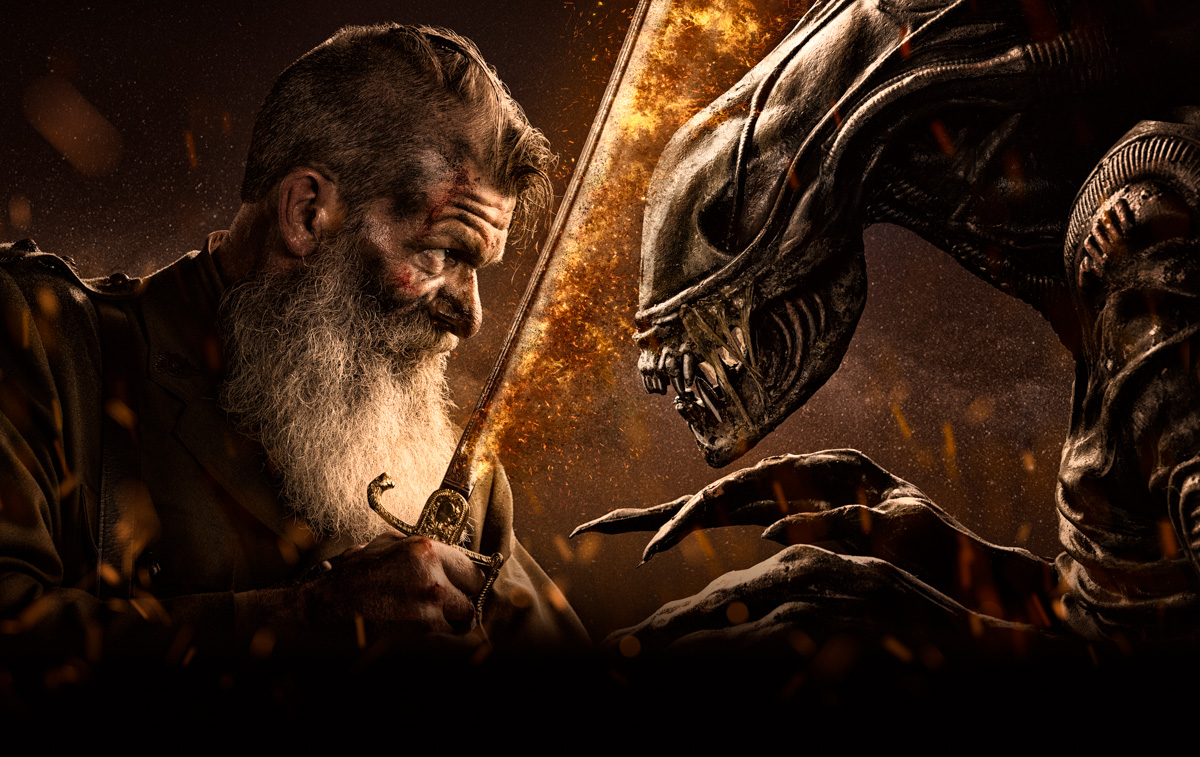
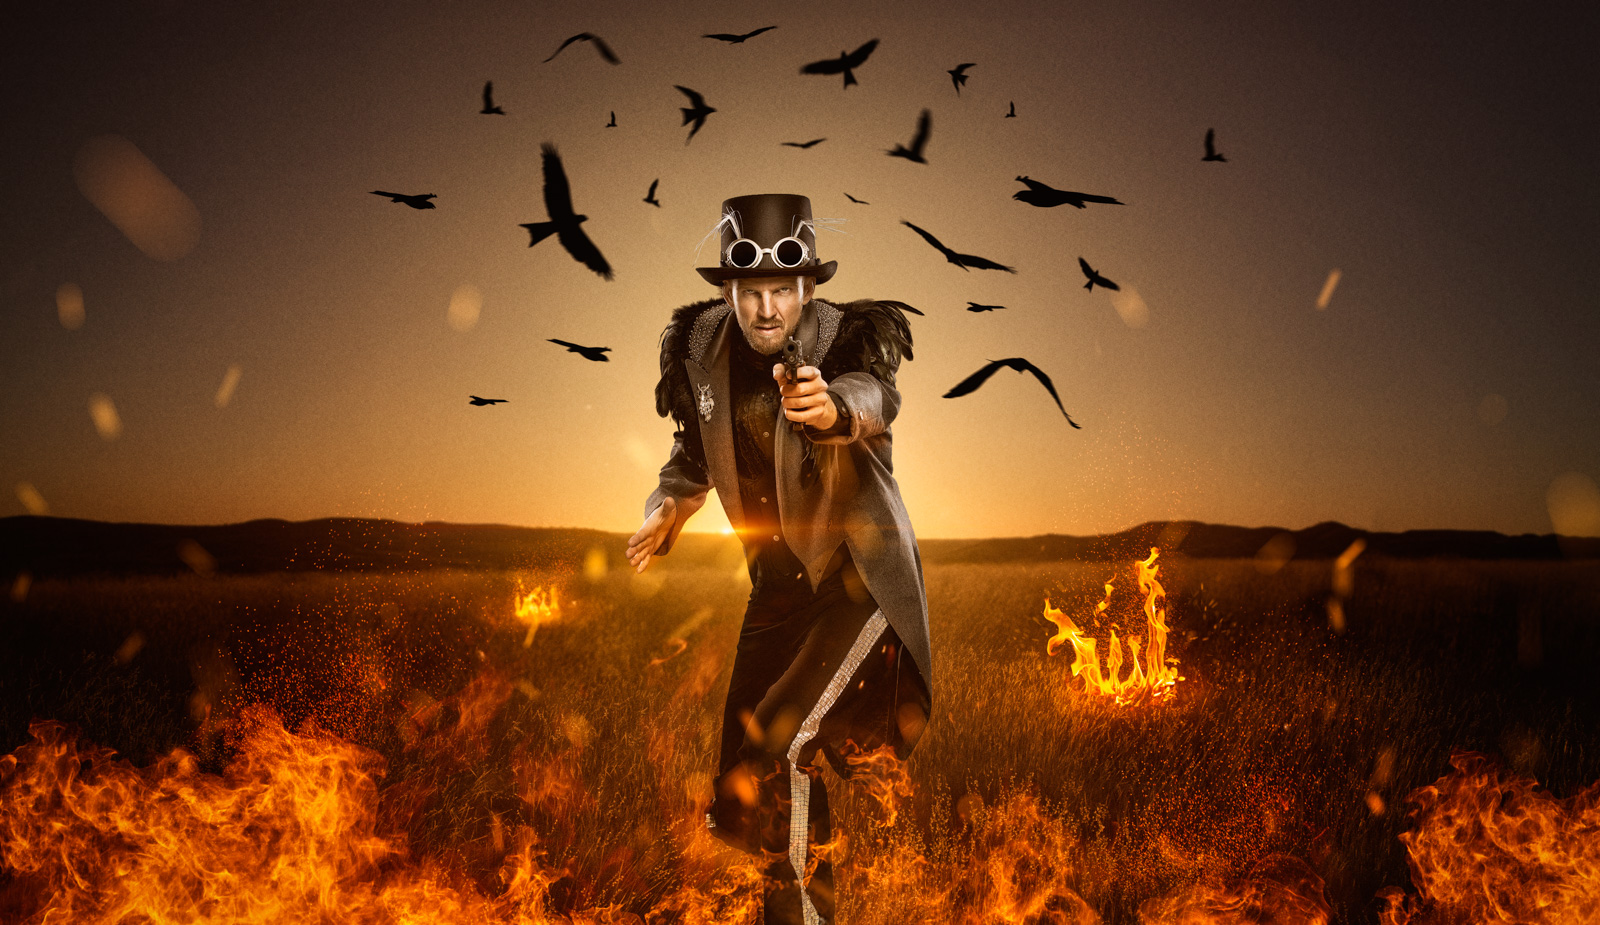
CREATIVE
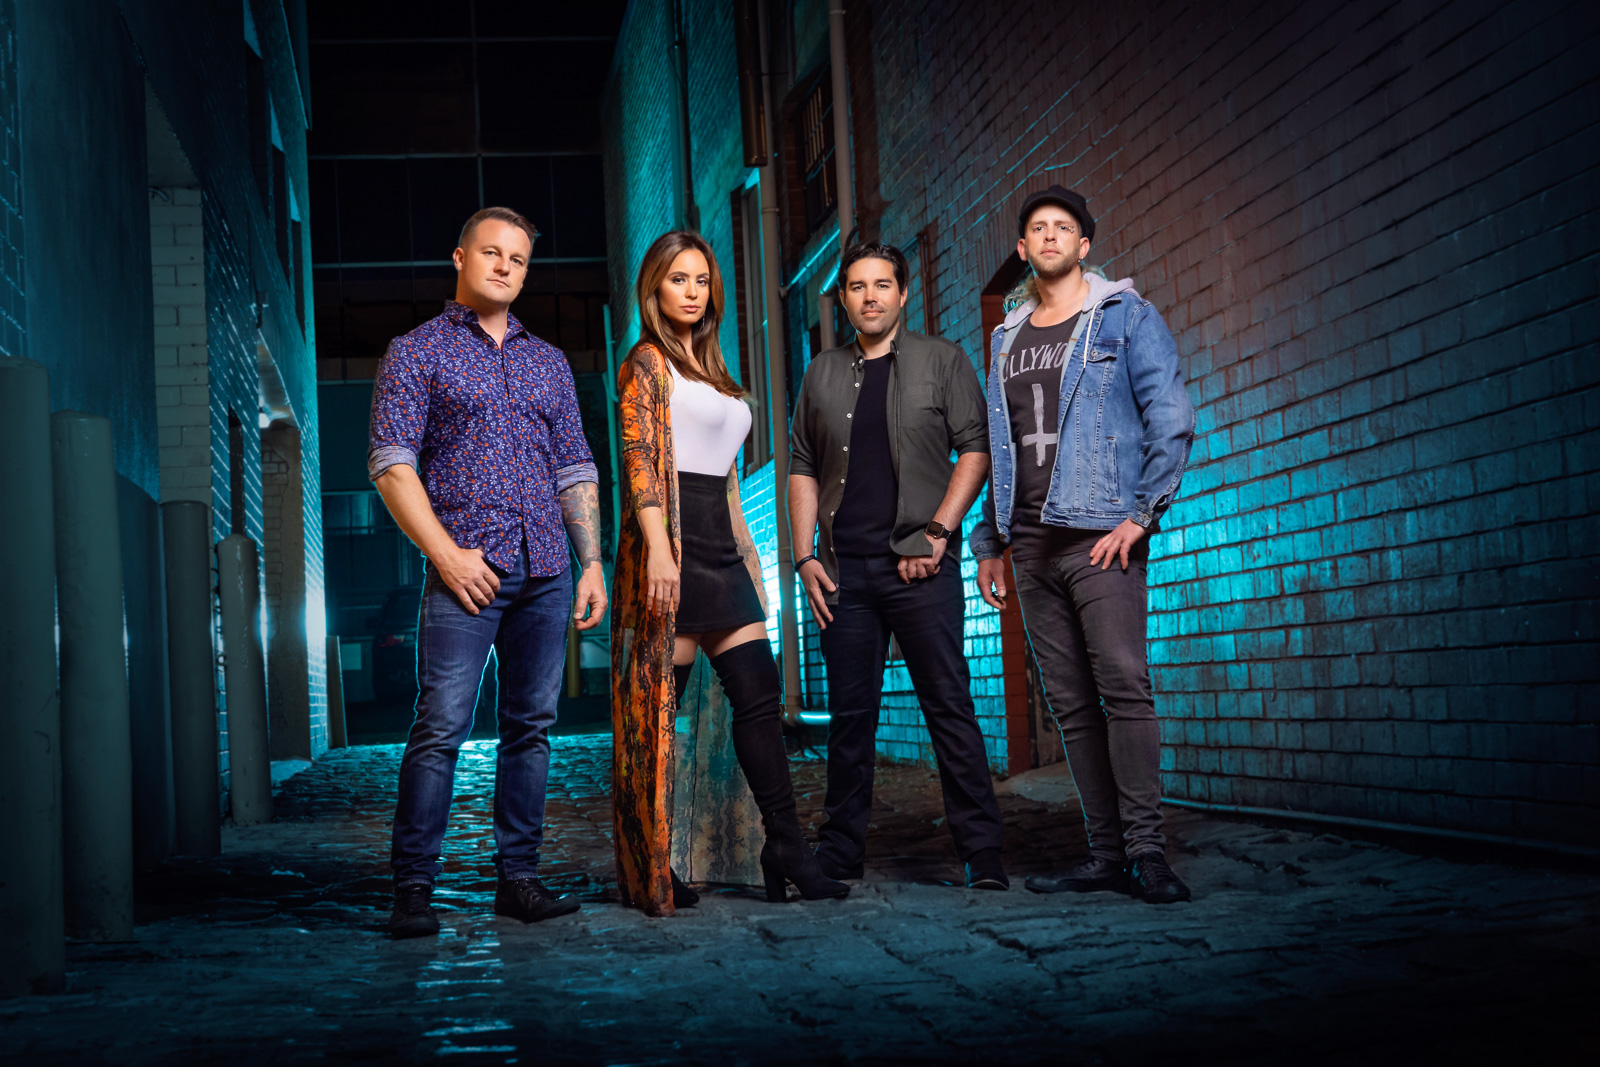
MUSIC
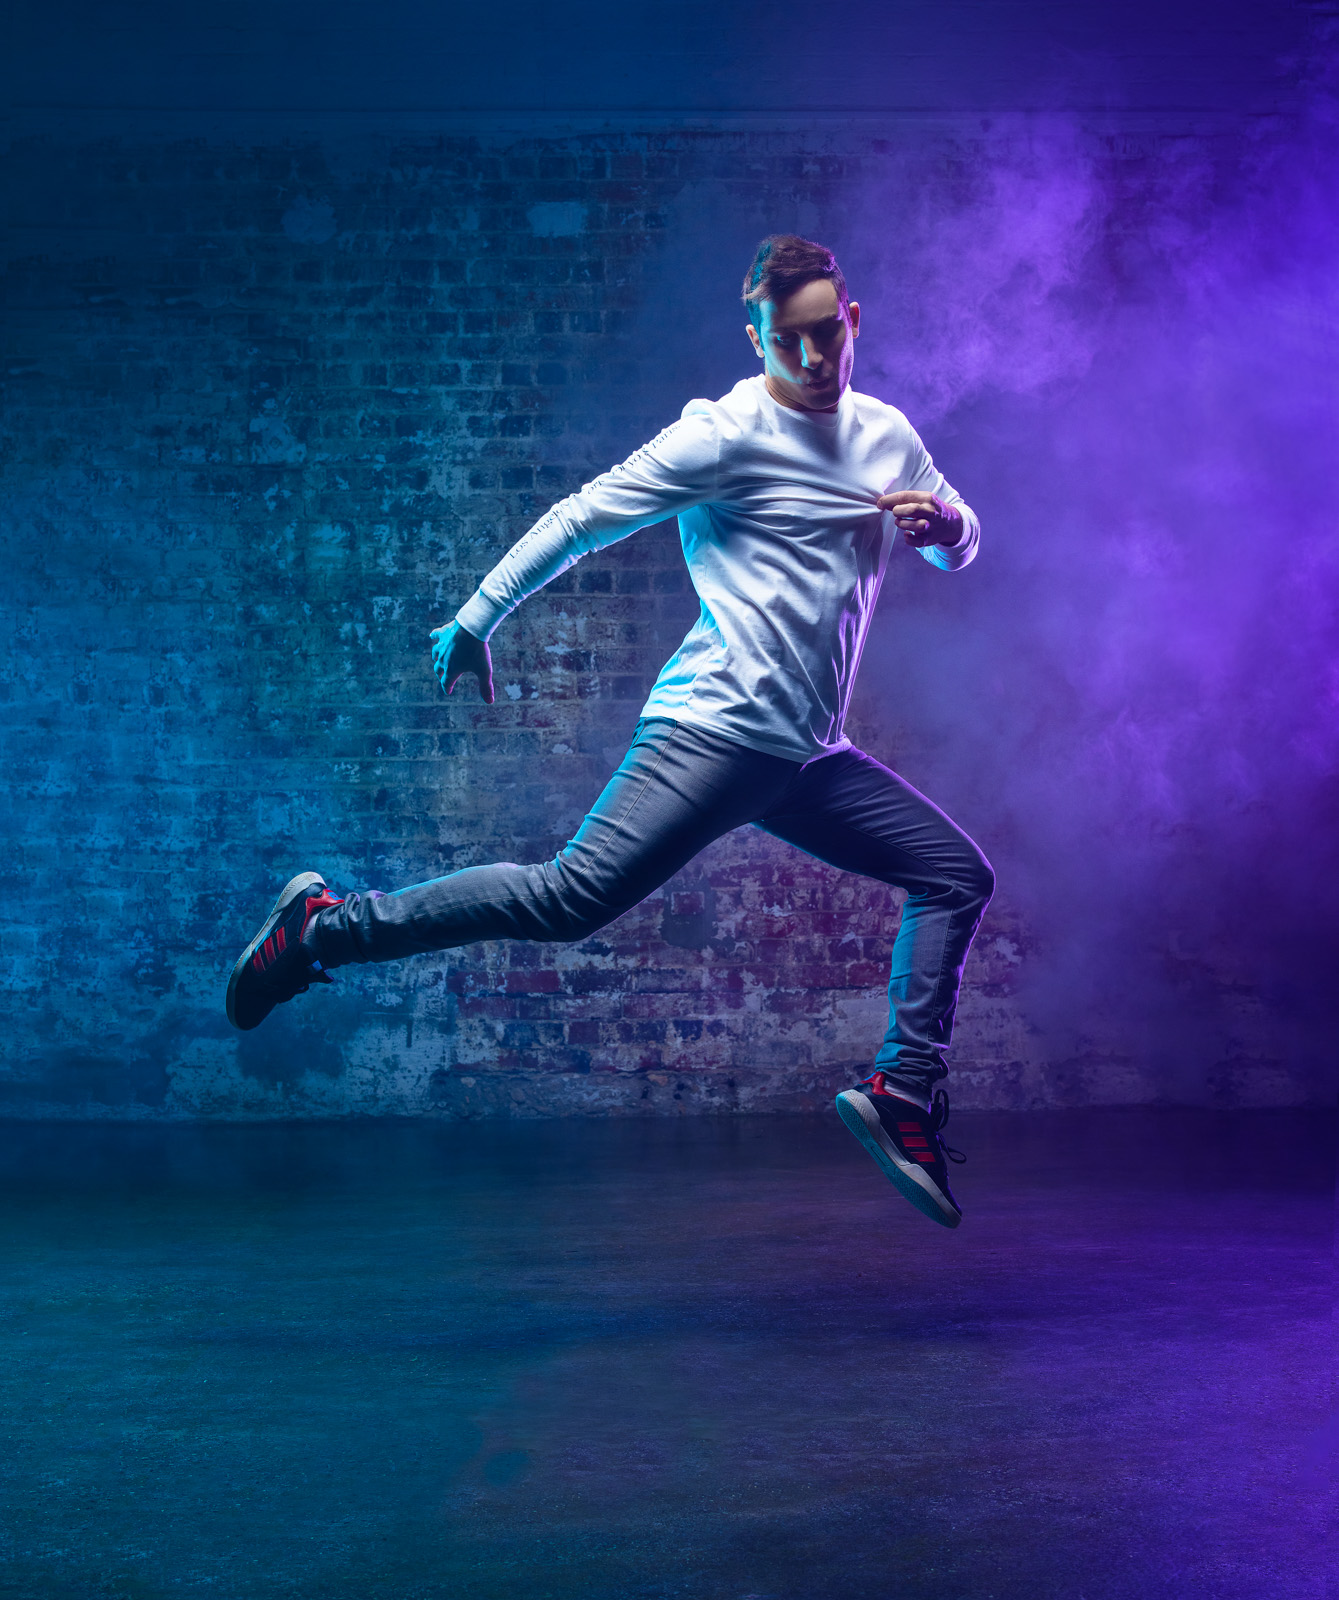
MOTION
–
BTS
LEARN with Brodie 📖
Who is Brodie
CONTACT